
Headstand Benefits and How to Perform It
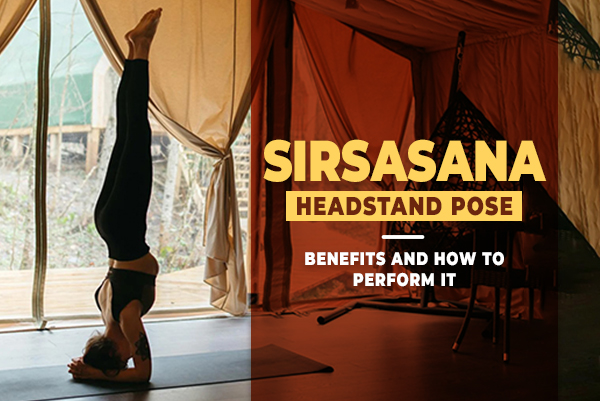
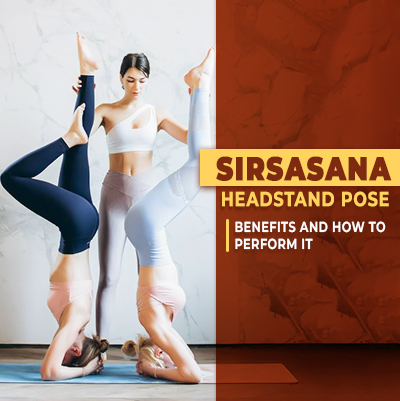
Table of Content
What You Need to Know About Sirsasana (Headstand)
Headstand is called the “King of Asanas”. An advanced level of yoga asanas but if done correctly and practiced daily, an intermediate and a beginner can also do it. A very beneficial asana for clarity, concentration, and yes, obviously it has other various benefits as well. This is the reason headstand is called the “King of Asanas”.
People often say that if you can do a headstand or shoulder stand, it means you have better flexibility, and you are on level 1 of doing yoga. However, yoga is not about being competitive, and flexibility can be achieved with practice. Consistency in practice is key.
How To Do
The basic mantra for a headstand is that you should have enough strength in your arms to hold the weight of your whole body. Always practice this type of asana under guidance. If you are a beginner, there are a few points that need to be followed:
- Do this asana under the guidance of a Yoga Instructor
- Use a wall as support or prop
- Break the asana into various segments
- Do not focus on the end result
- Practice every day
Now let us understand how we can do this asana:
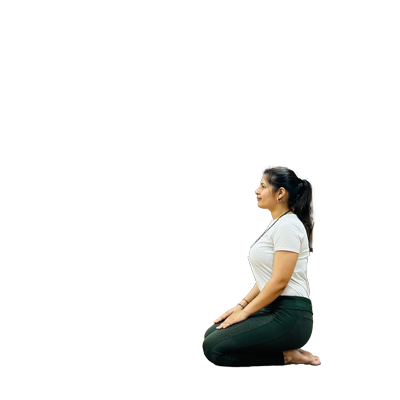
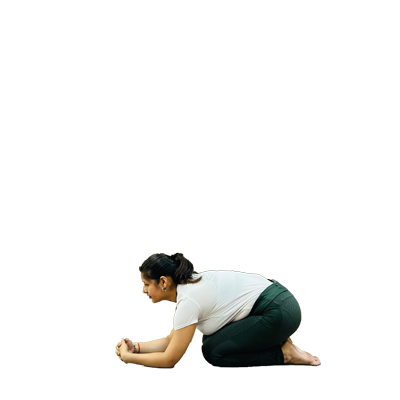
- Step 1: Sit in vajrasana.
- Step 2: Interlock your fingers against each other and then rest your elbows on the mat. Make sure your arms are not spread too much. Your arms should be in a slightly “V” shape.
- Step 3: Place the crown of your head into the palm.
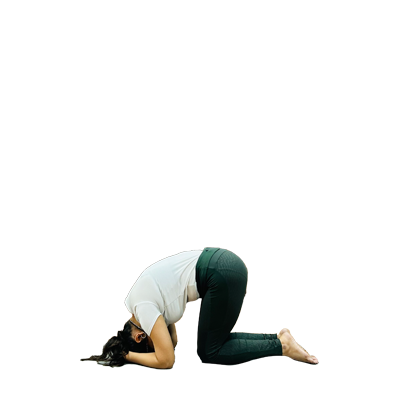
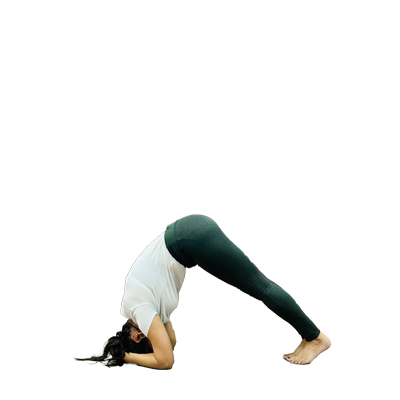
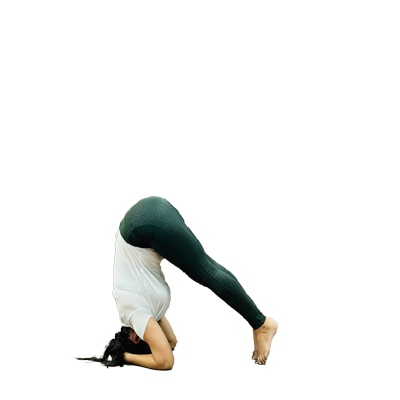
- Step 4: Slowly raise your hips into a dolphin pose.
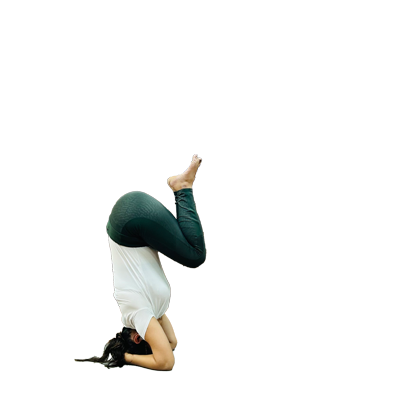
- Step 5: Bring your feet as close to your head as possible.
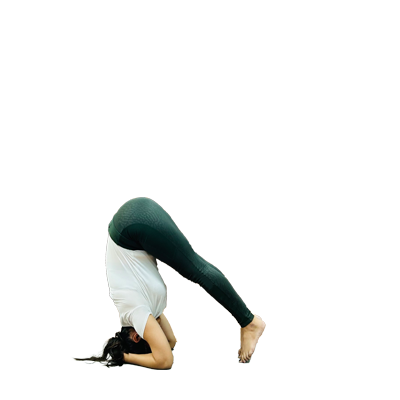
- Step 6: Slowly raise one foot and balance, then raise the other foot and balance.
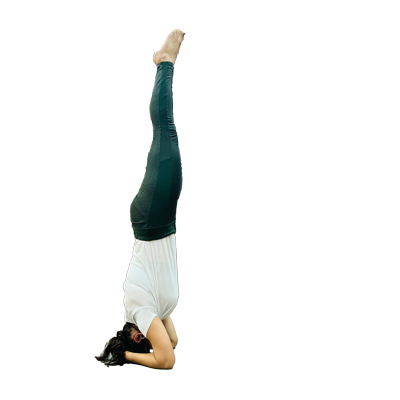
- Step 7: Once balanced, straighten one leg and then the other. Stay in this posture for at least 30 seconds, or longer as per your convenience.
- Step 8: To return to the original position, lower one leg, then the other.
- Step 9: Come back to the dolphin pose
- Step 10: Then Come back to vajrasana.
- Step 11: Do savasana for 3 minutes.

Benefits
- Improves memory and concentration
- Improves balance and posture
- Stimulates the endocrine system for better functioning and coordination
- Provides adequate blood supply to the head, eyes, and face
- Treats depression and anxiety
- Strengthens arms and shoulders
- Treats hair fall
- Increases lung capacity and respiration as the chest opens
Breathing and Time Pause
Beginner: 30 seconds to 1 minute
Intermediate: 1-3 minutes, as per your convenience
Advanced: 3-6 minutes, as per your convenience
Population
All population except menstruating women, pregnant women, and children under 8 years.
Contraindications/Precautions
- Pregnant women
- Menstruating women
- Anyone who has undergone any type of surgery
- Injured persons
- Asthma patients
- Children under 8 years of age
- People with vertigo, blood pressure, and heart-related issues
Warm-up Poses
- Stretching (Legs, ankles, arms, hips)
- Tadasana
- Gomukhasana
- Adho Mukha Svanasana
Counteract Poses
- Child pose
- Paschimottanasana
- Savasana
NOTE: This asana should not be performed alone. Always do this asana under the guidance of a Certified Yoga Instructor.
क्या आप योग में करियर बनाने को लेकर "Confuse" हैं?
Join Free Webinar By Maneesh Sir
- Know About Opportunities in the Growing Yoga Sector.
- Learn from a Yoga Teacher with Over 15 Years of Experience.
- Special Offer for Webinar Attendees.